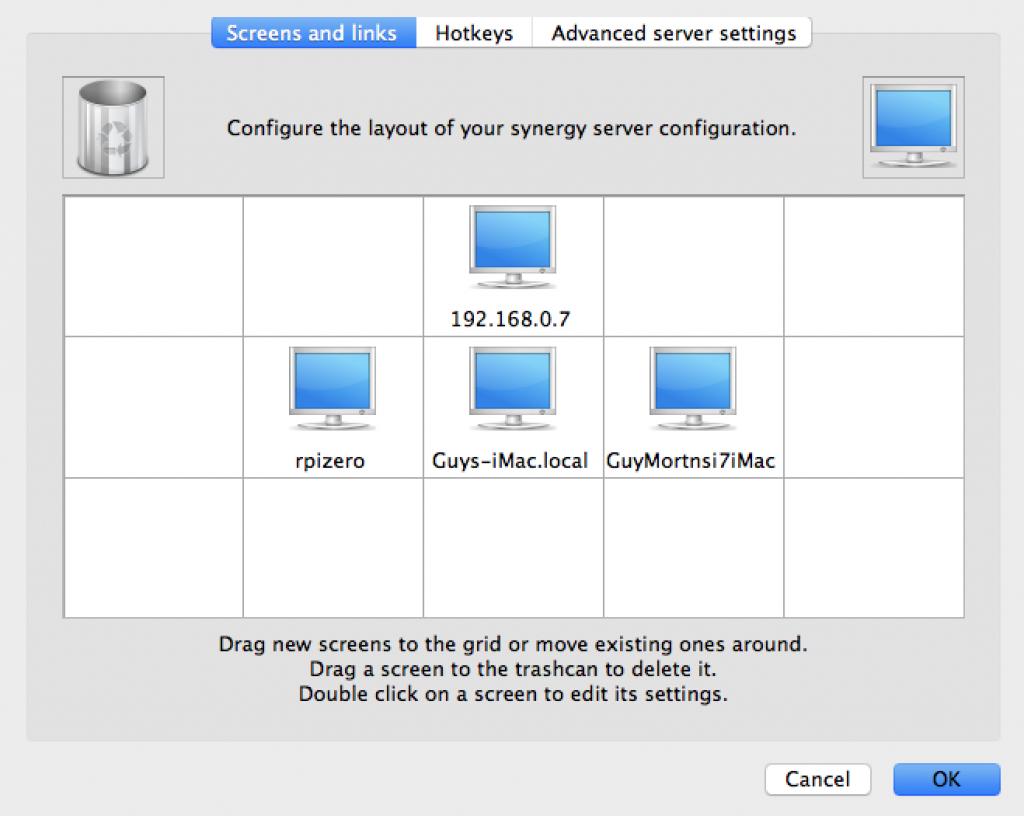
If you have a lot of computers running at the same time and you don’t want to have to wrangle multiple keyboards and mice to control them all, you need Synergy.
Raspberry Pis are so small and cheap that, if you’re like me, you will probably end up with a few on your desk at the same time. Using Synergy (from Symless) you can enable your main keyboard and mouse to control all of them.
Synergy is easy to use – you simply mouse out of your main screen and over to the monitor of the other machine to control it. Whichever screen has the mouse focus also gets the keyboard input. It’s almost magical.

With Synergy, you have one computer acting as the server; this is the machine that has the keyboard and mouse we will use to control the other computers. Other computers connect to the server as Synergy clients.
Both the client and the server must be running compatible versions of Synergy. Unfortunately, current Raspbian builds only contain older versions of Synergy and these won’t work if your Synergy server is running a later version. If your server computer is a Mac or Windows machine this will probably be the case. If you are in this situation, you will need to build a more recent version of Synergy on your Pis from source.
Note: I recommend you buy the Pro version of Synergy, not only because it adds SSL support but because the USD29 will support the ongoing development of the product.
Doing the build
I’m building on a Raspberry Pi Zero W running a newly-flashed SD card of Stretch Raspbian with Desktop.
To start, update the pre-installed packages then install the prerequisite packages for Synergy.
sudo apt-get update
sudo apt-get upgrade -y sudo apt-get install cmake make g++ xorg-dev libqt4-dev libcurl4-openssl-dev libavahi-compat-libdnssd-dev libssl-dev libx11-dev
While that’s happening, download the source of Synergy from https://symless.com/synergy/downloads as a tar.gz file and copy it to your Pi. Then
tar xzf synergy-v1.8.8-stable-25a8cb2-Source.tar.gz
cd synergy-v1.8.8-stable-c30301e-Source
Now you’re in the source directory you need to run the configure step
QT_SELECT=4 ./hm.sh conf -g1
Note: If you see an error “Error: Could not get revision, git error: 128” you can safely ignore it.
Then:
./hm.sh build
If you get an error “Error: make -w failed with error: 512″ you can ignore that too.
Now you can the build the GUI app.
cd src/gui
qmake
make
Go back to the source root and copy all the built binaries to /usr/local/bin
cd ../../
sudo cp bin/syn* /usr/local/bin
Then run the Synergy GUI,
/usr/local/bin/synergy &
In the GUI you can configure the server you will connect to, and enter your license key, if you have one.
Making sure Synergy is always running
You want Synergy to start on boot, so you never have to reconnect the keyboard or mouse. Follow these instructions to do that (adapted from this page):
sudo raspi-config
(Select "Boot Options", then "Desktop Autologin")
Create the Synergy client autostart file (must be as user pi, NOT root!)
mkdir -p ~/.config/autostart
nano ~/.config/autostart/synergy.desktop
Write a little bash script to start synergyc with the necessary options. This is based on one I found here – you should modify the command line to match your setup (eg remove the enable-crypto flag if you won’t use SSL).
#!/bin/bash

killall synergyc
sleep 1
/usr/local/bin/synergyc -f --no-tray --debug INFO --name rpizero --enable-crypto 192.168.0.127:24800
exit 0
Now edit the synergy.desktop autostart file and tell it to run your script:
[Desktop Entry]
Name=Synergy Client
Exec=/home/pi/.startsynergy.sh &
Type=application
Reboot your Pi and check it auto-connects, then enjoy the freedom of a desk free of multiple keyboards and mice!